
Mac安装配置和使用iTerm2
AI-摘要
Tianli GPT
AI初始化中...
介绍自己
生成本文简介
推荐相关文章
前往主页
前往tianli博客
本文最后更新于 2024-08-16,文章内容可能已经过时。
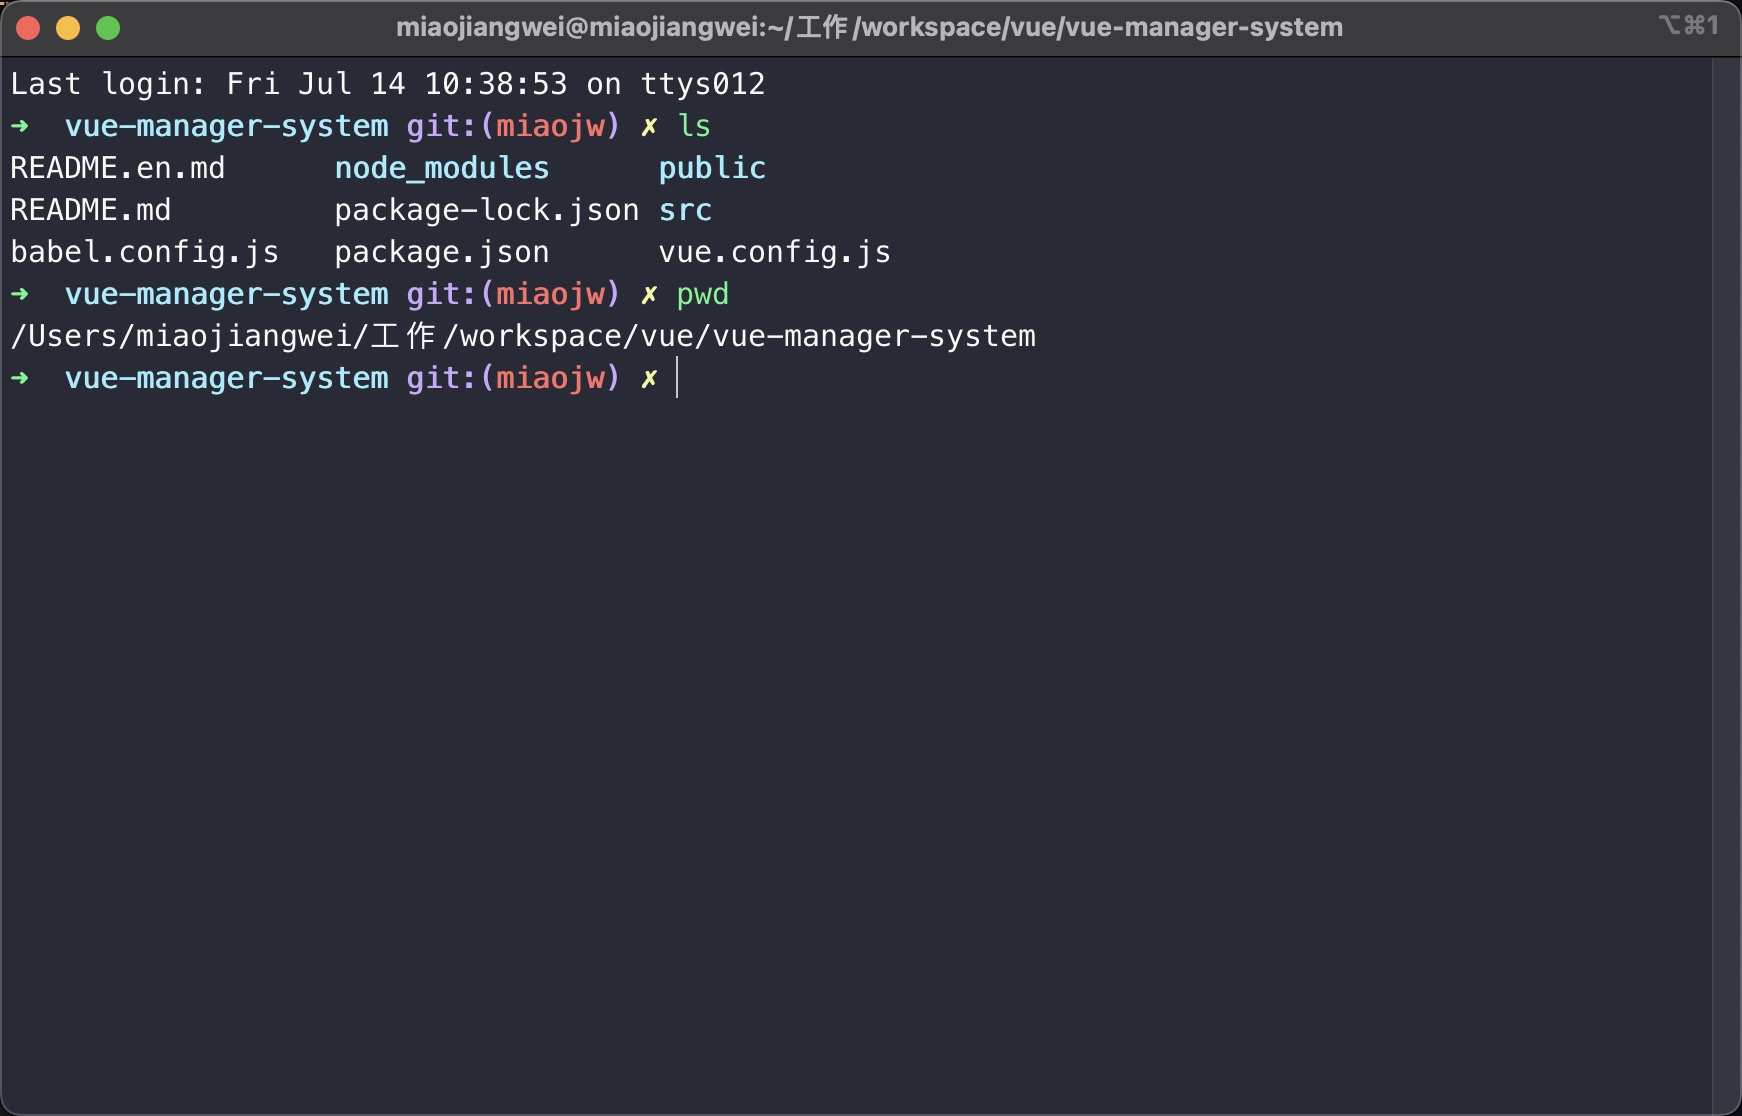
安装 iTerm2 终端
下载地址
使用Homwbrew安装
brew install iterm2
配置 iTerm2 终端
设置iTerm2为默认终端
访达菜单
iTerm2>Make iTerm2 Default Term选择设置默认即可!
配置主题
主题推荐
draculatheme 主题
Solarized Dark theme 主题
Iterm2-color-schemes 主题
主题配置
打开
iTerm2->Preferences,然后Profiles--->Colors->Color Presets->Import,选择刚刚解压的solarized->iterm2-colors-solarized->Solarized Dark.itermcolors文件,导入成功,最后选择Solarized Dark。
注意: import 导入主题的时候,选择以【.itermcolors结尾 文件!
Iterm2-color-schemes 选择 `schemes` 文件夹下文件!
安装 oh-my-zsh
oh-my-zsh是对主题的进一步扩展
安装
使用 curl 安装:
sh -c "$(curl -fsSL https://raw.githubusercontent.com/robbyrussell/oh-my-zsh/master/tools/install.sh)"
主题配置
- 主题修改
vim ~/.zshrc
ZSH_THEME="agnoster"
- 声明高亮
执行以下命令
source /usr/local/share/zsh-syntax-highlighting/zsh-syntax-highlighting.zsh
编辑.zshrc
vim ~/.zshrc
然后编辑vim ~/.zshrc文件,找到plugins配置,增加zsh-syntax-highlighting插件
plugins=(git zsh-autosuggestions zsh-syntax-highlighting)
- 自动填充建议
git clone https://github.com/zsh-users/zsh-autosuggestions ~/.oh-my-zsh/custom/plugins/zsh-autosuggestions
同上,将插件添加到 plugins配置下!
plugins=(git zsh-autosuggestions zsh-syntax-highlighting)
iTerm2隐藏用户名和主机名
有时候我们的用户名和主机名太长,比如我的
xishuai@xishuaideMacBook-Pro,终端显示的时候会很不好看,我们可以手动去除。 编辑vim ~/.zshrc文件,增加DEFAULT_USER="xishuai"配置,可在文本最好追加我们可以通过whoami命令,查看当前用户
ZSH_THEME="agnoster"
DEFAULT_USER="pactepacterara"
iTerm2 快捷命令
| 命令 | 描述 |
|---|---|
| command + enter | 进入与返回全屏模式 |
| command + t | 新建标签 |
| command + w | 关闭标签 |
| command + 数字 command + 左右方向键 | 切换标签 |
| command + enter | 切换全屏 |
| command + f | 查找 |
| command + d | 水平分屏 |
| command + shift + d | 垂直分屏 |
| command + option + 方向键 command + [ 或 command + ] | 切换屏幕 |
| command + ; | 查看历史命令 |
| command + shift + h | 查看剪贴板历史 |
| ctrl + u | 清除当前行 |
| ctrl + l | 清屏 |
| ctrl + a | 到行首 |
| ctrl + e | 到行尾 |
| ctrl + f/b | 前进后退 |
| ctrl + p | 上一条命令 |
| ctrl + r | 搜索命令历史 |
本文是原创文章,采用 CC BY-NC-ND 4.0 协议,完整转载请注明来自 程序员小航
阅读建议

评论
匿名评论
隐私政策
你无需删除空行,直接评论以获取最佳展示效果